useMango™ Documentation > Working with useMango™ > Integration with Jenkins > Run useMango™ tests via Jenkins
Run useMango™ tests via Jenkins
To create a project in Jenkins to run useMango™ tests
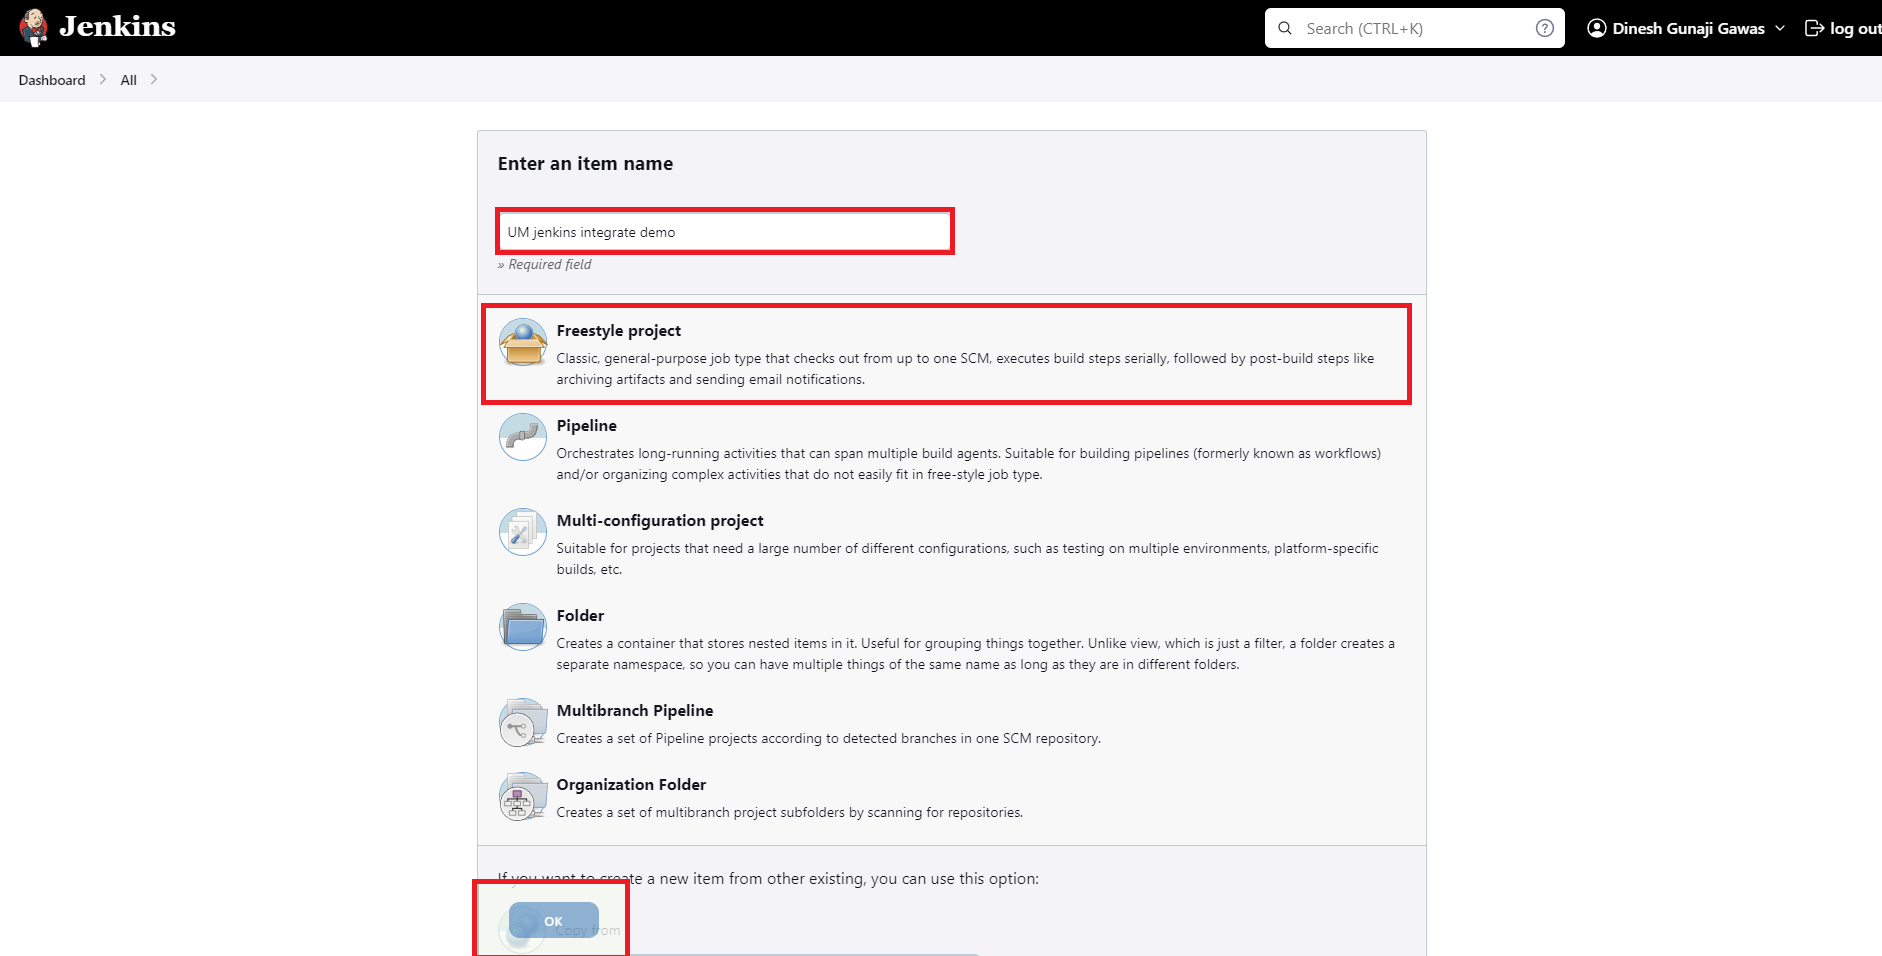
- Click New item on the left-hand side panel of Jenkins.

- Enter a name for the project.
- Select Freestyle Project and click OK.
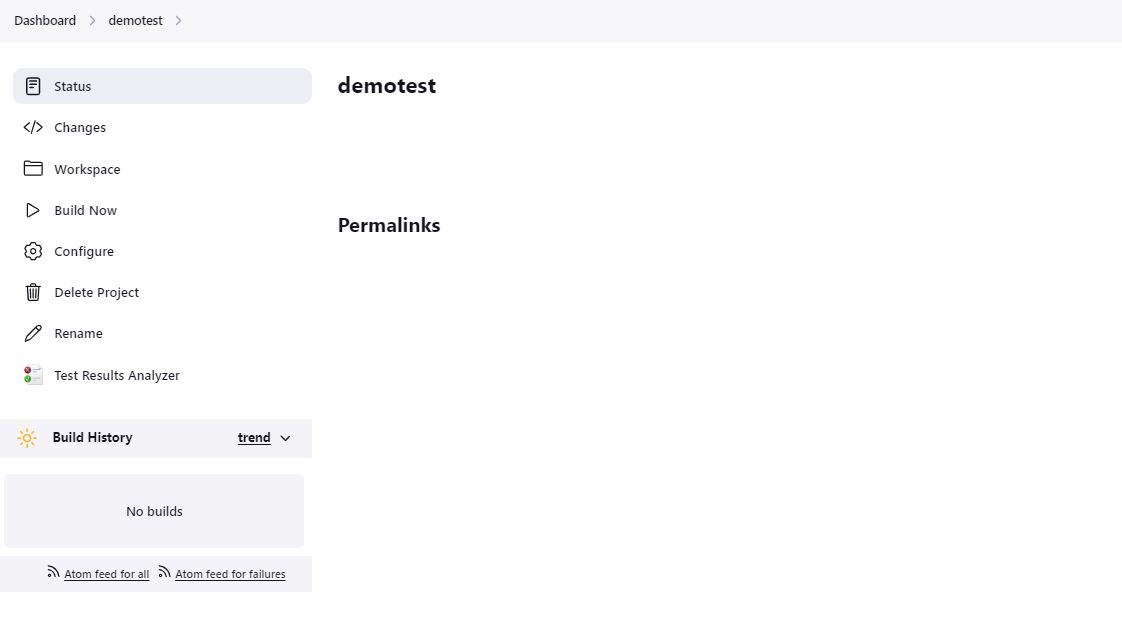
- Once the project is created, Jenkins will direct you to the Project Configuration page. If not, click on the project in the Jenkins and then select Configure option on the left-hand panel of the page.
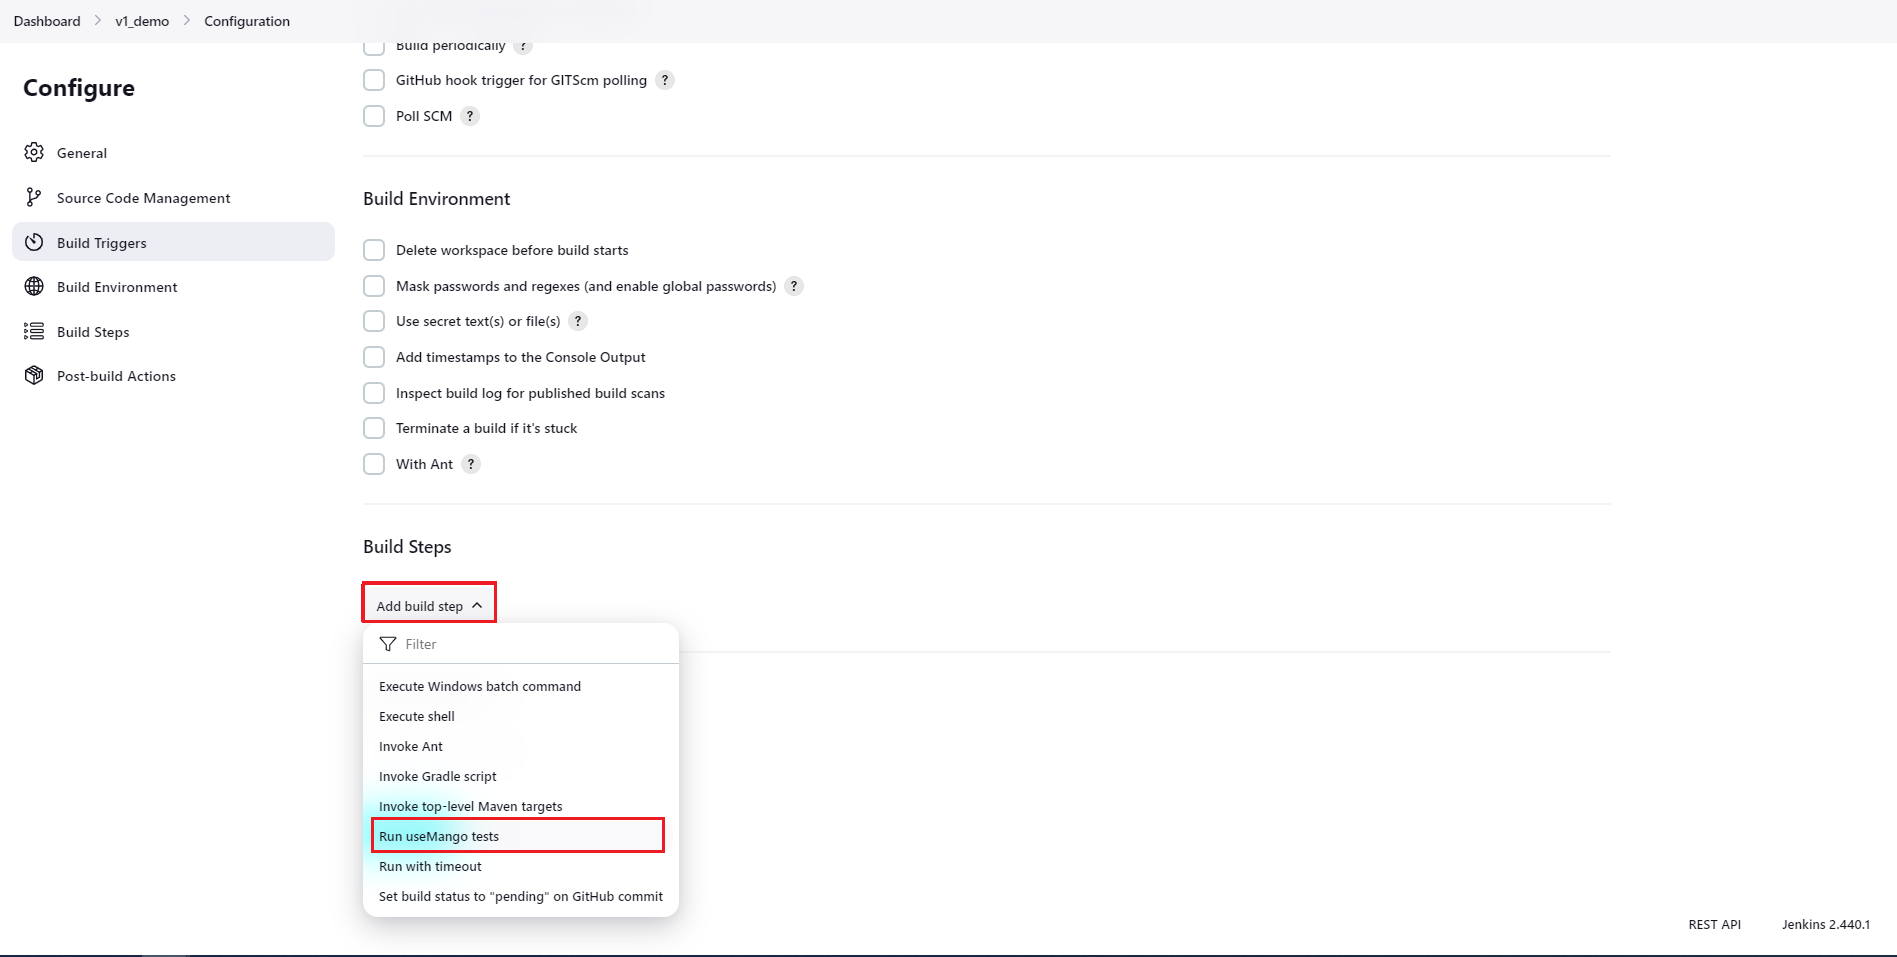
- In the Configure page, navigate to the Build section.
- Click on ADD BUILT STEP and select the option Run useMango tests.
If useMango Runner has successfully established a connection with the useMango™ server, then the projects in the server will be accessible through Jenkins. To add tests in useMango™ to the Jenkins job:
- Click on Project ID and select the name of the Project from the drop-down list.
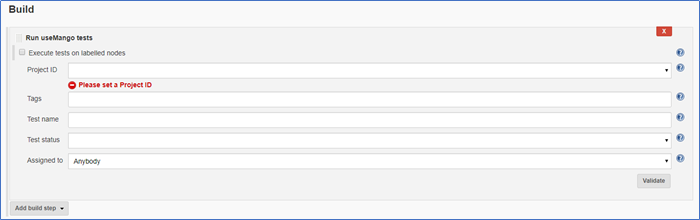
- Enter the tags assigned to the test(s) to add them to the Jenkins job (Optional). If this field is left empty, all the tests irrespective of the tags will be displayed.
- Enter the name of the test you wish you add in the Test name field (Optional). If the field is left empty, all the tests will be displayed.
- Select the test status - Design, Review, Ready, Revalidate or Repair , if you want to add only tests belonging to a given status in useMango™ (Optional). If the field is left empty, all the tests irrespective of their statuses will be displayed.
- Enter the name of the Assignee in useMango™ if you are trying to run tests assigned to a specific user (Optional). If the field is left empty, all the tests irrespective of the user to whom the tests are assigned to will be displayed.
- Click on Validate and the plugin will communicate with the useMango™ server and validate the form information. All the tests which were added to the project will be displayed on the page.
- Click on Post-build Actions button in the Post-build Actions section in the page and select Publish JUnit test result report.
- Enter ‘results/*.xml’ in the Test report XMLs field.
- Click Apply and Save.
- Click on the project name and click on Build Now option in the left-hand side panel of the page to start the execution.