useMango™ Documentation > Working with useMango™ > Working with projects > Managing projects in useMango™
Managing projects in useMango™
This topic explains how useMango™ projects can be set up and maintained.
useMango™ Server project management
Whilst projects are required for use in useMango™ Client, they can only be created and maintained on the Server. To access project management on the server:
- Open a web browser and navigate to useMango™ app website https://app.usemango.co.uk.
- Enter your email address and password to log in to the server.
- Click on Settings and then click on Projects. The Projects page shows a list of the projects on the server.
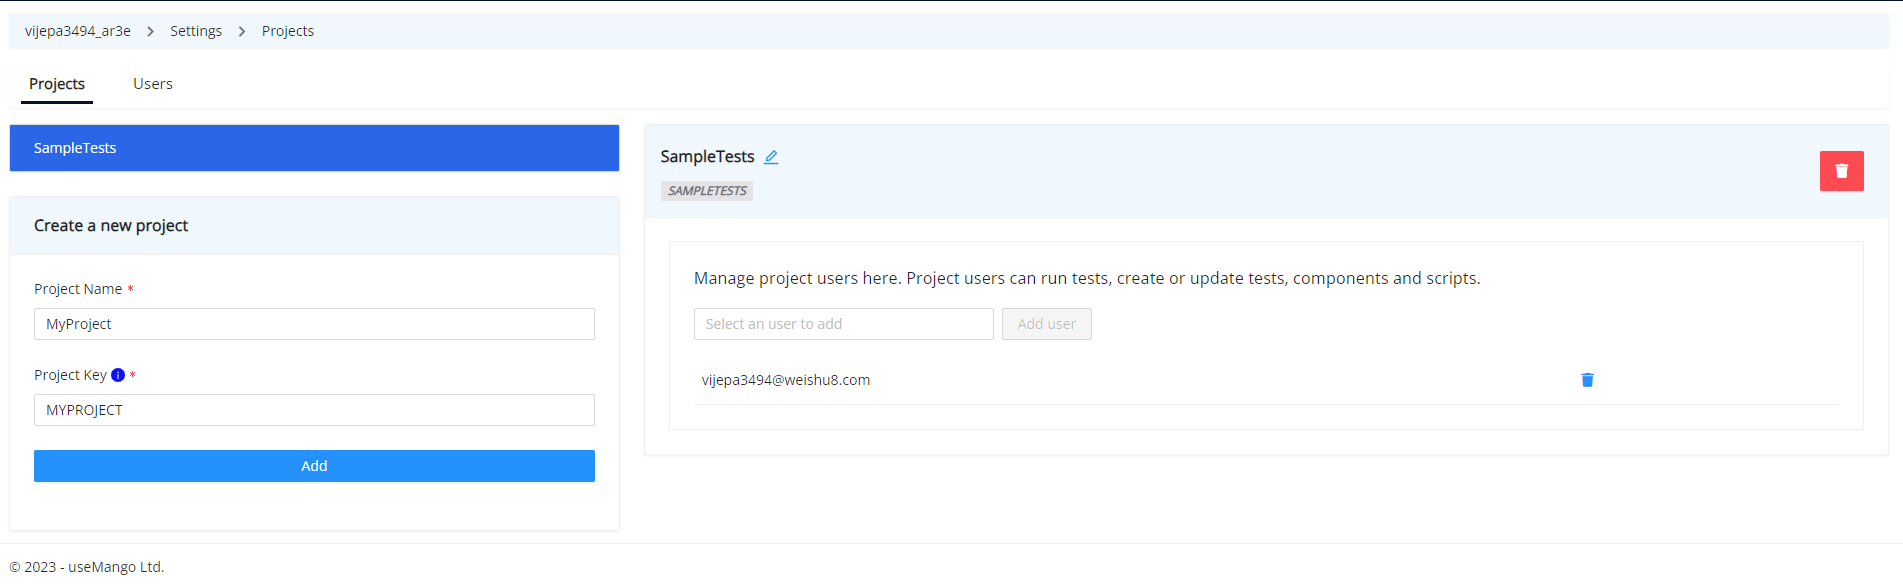
Set up a new project
- Hover over the Profile Icon and click on Project Settings to display the projects available in the server.
- In the Create a new project section, enter the new project name into the Project Name field. The Project Key will be automatically filled with the capitalized form of the user-given project name by default, but you may also specify a custom value, provided it is unique throughout the projects in the account.
The value for Project Key field cannot be altered after the project has been created.
Rename a project
- Hover over the Profile Icon and click on Project Settings to display the projects available in the server.
- Select the project you want to rename from the list of projects. Subsequently, the details of the chosen project will be shown.
- Click on the Edit icon next to the project name and provide the new project name.
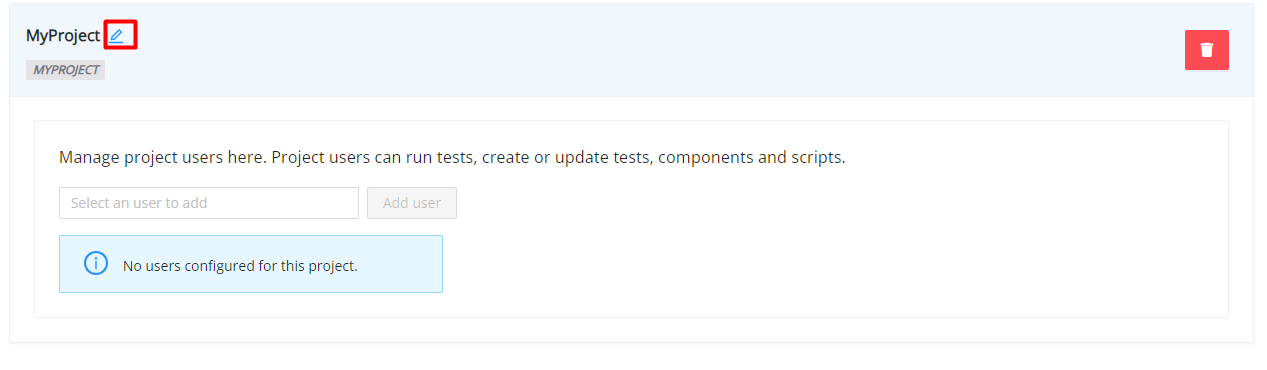
- Click on the Submit button to rename the project.