Environments
Environments in useMango™️ serve as value sets for the environment variables. You can assign different values to the environment variables for every environment. Every project has an environment that is created at the time of project creation and is set as the default environment. If the user does not specify the environment to execute tests in, this environment is used.
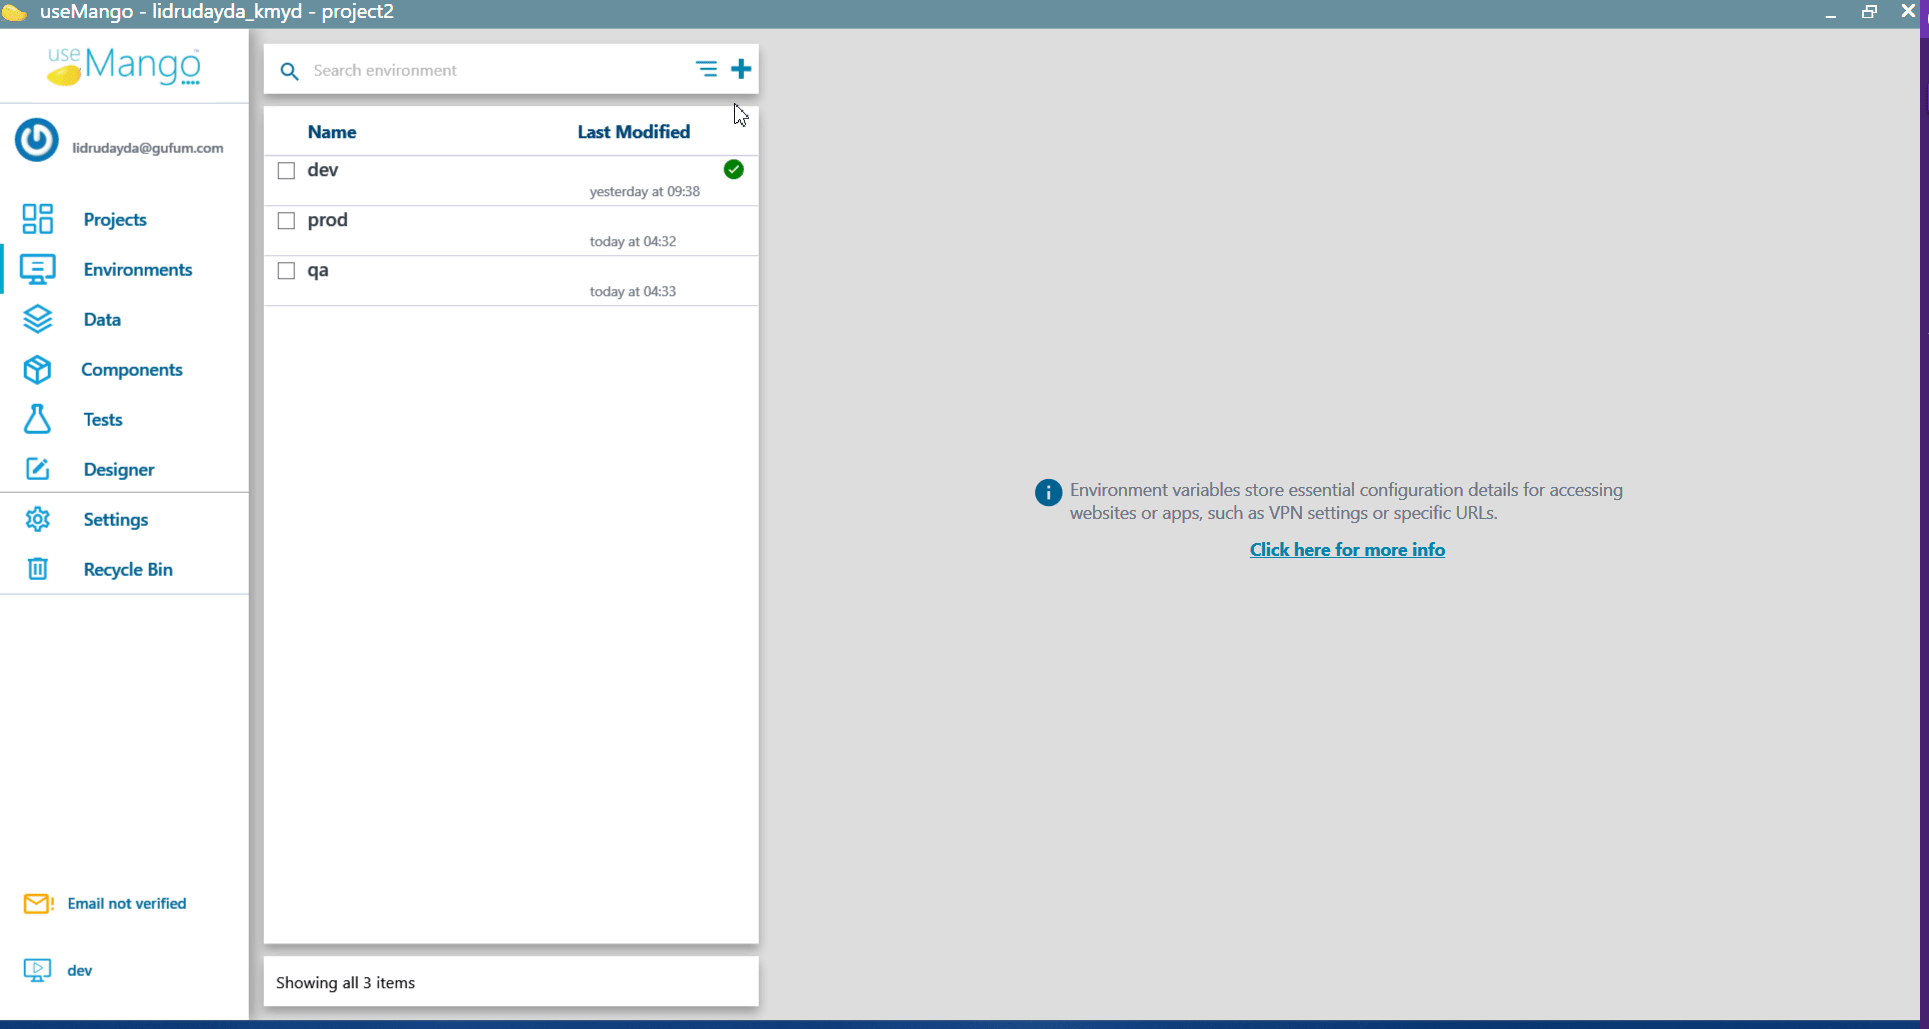
To view all Environments in a project, we click on the Environments tab from the sidebar.
Here, we can see all environments that are in a project. We can search for environments using the search bar in the top left of the Environments pane. We can also sort the environments list by its name or by its last modified time stamp.
Create an environment
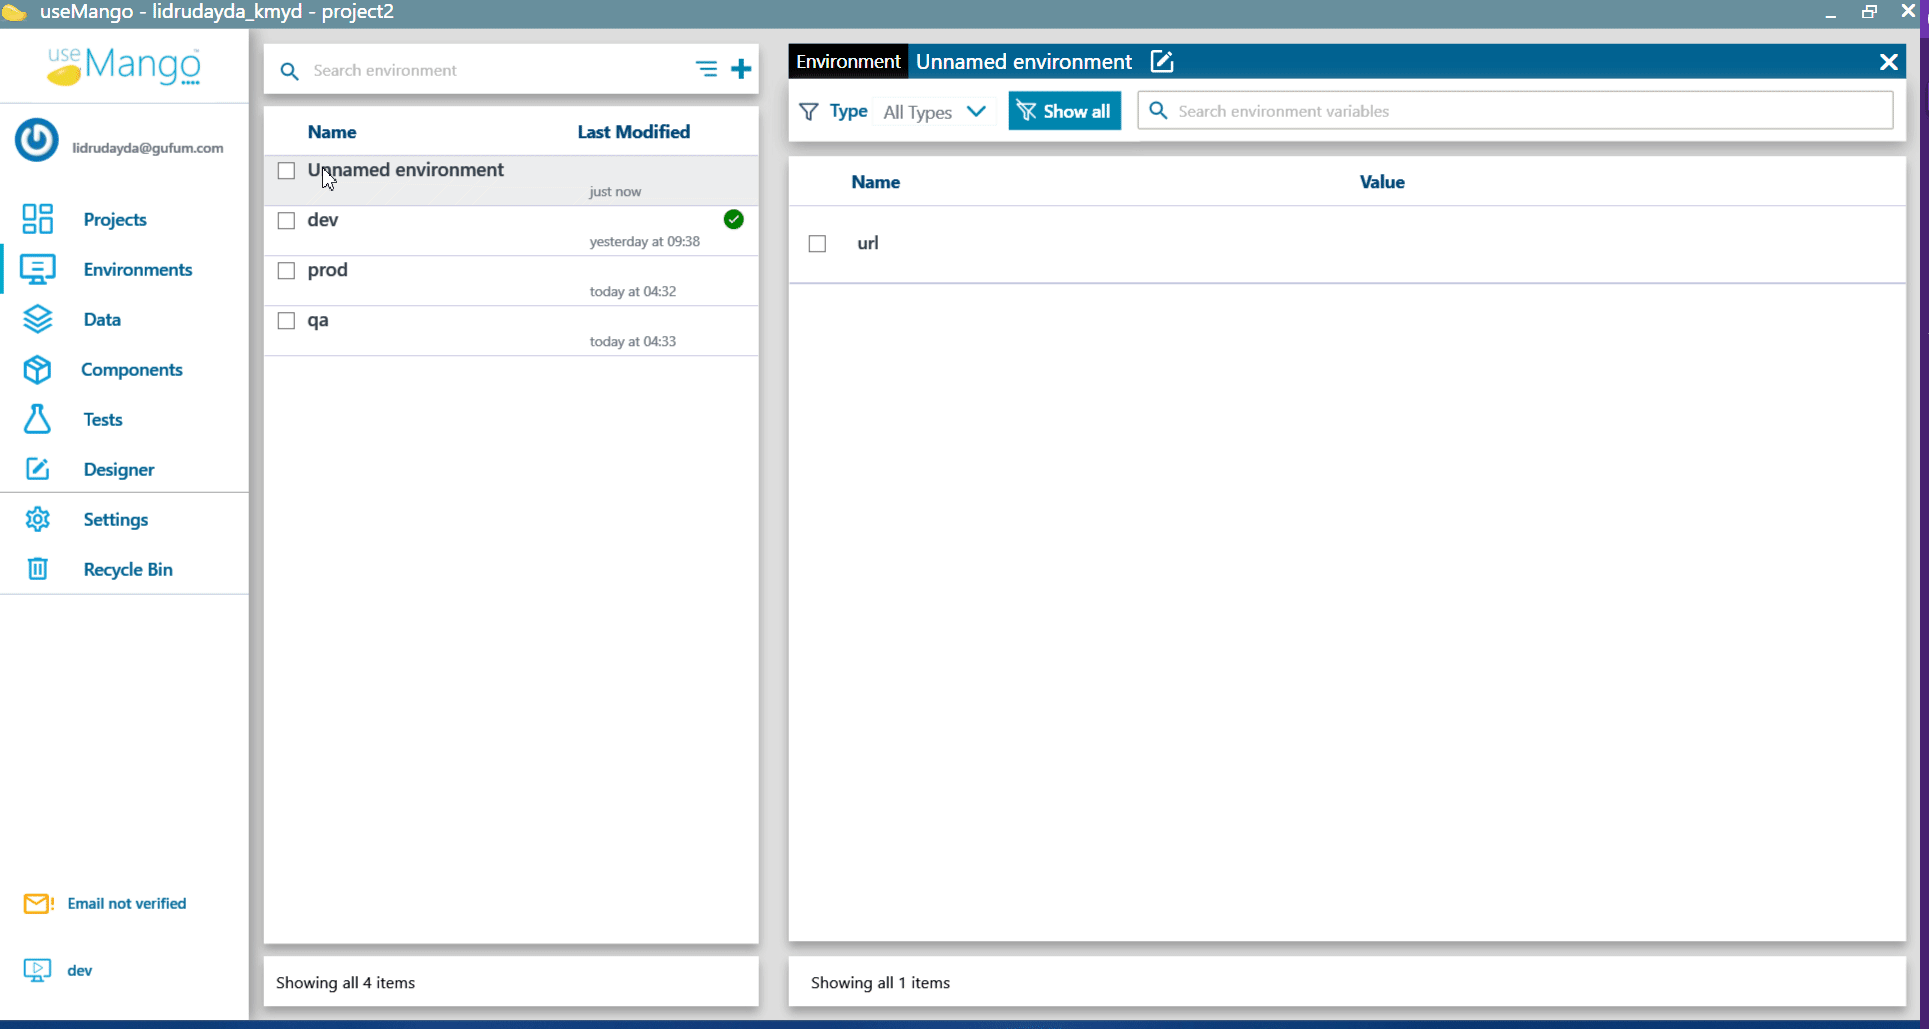
To create an environment:
- Click on the + button in the right end of the Environment list search box.
- This will create a new environment with the name Unnamed environment followed by a numerical if another environment with the same name already exists.
Delete an environment
To delete an environment:
- Click on the checkbox next to the environment.
- Click on the Delete button in the action bar below the environments list.
- Confirm the deletion using the pop-up that is displayed.
- If the environment being deleted is the current execution environment, a dialog box is displayed to notify the deletion of the environment.
Rename an environment
To rename an environment:
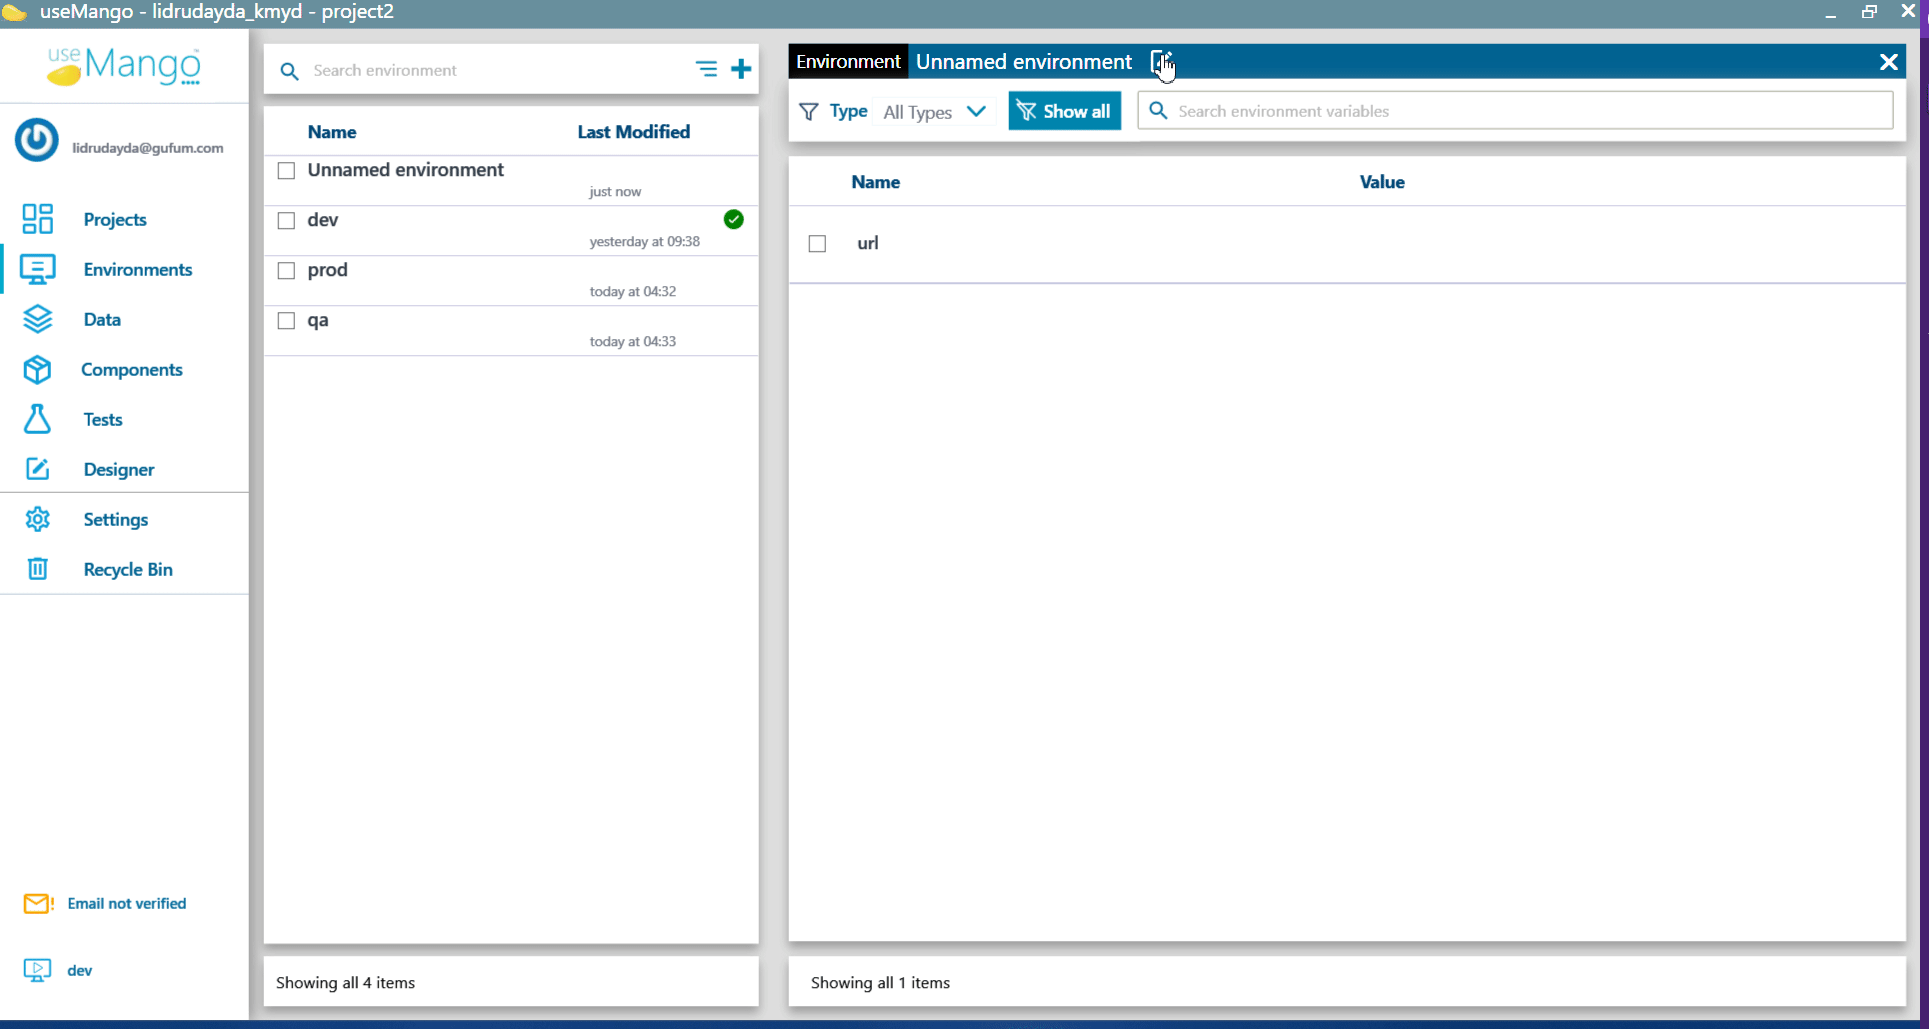
- Double click on the environment in the list that you want to rename
- Click on the edit icon next to the name of the environment in the details pane opened in the right side of the list, the name is now editable.
- Enter the new environment name and press
Tab. - The environment name is now updated.
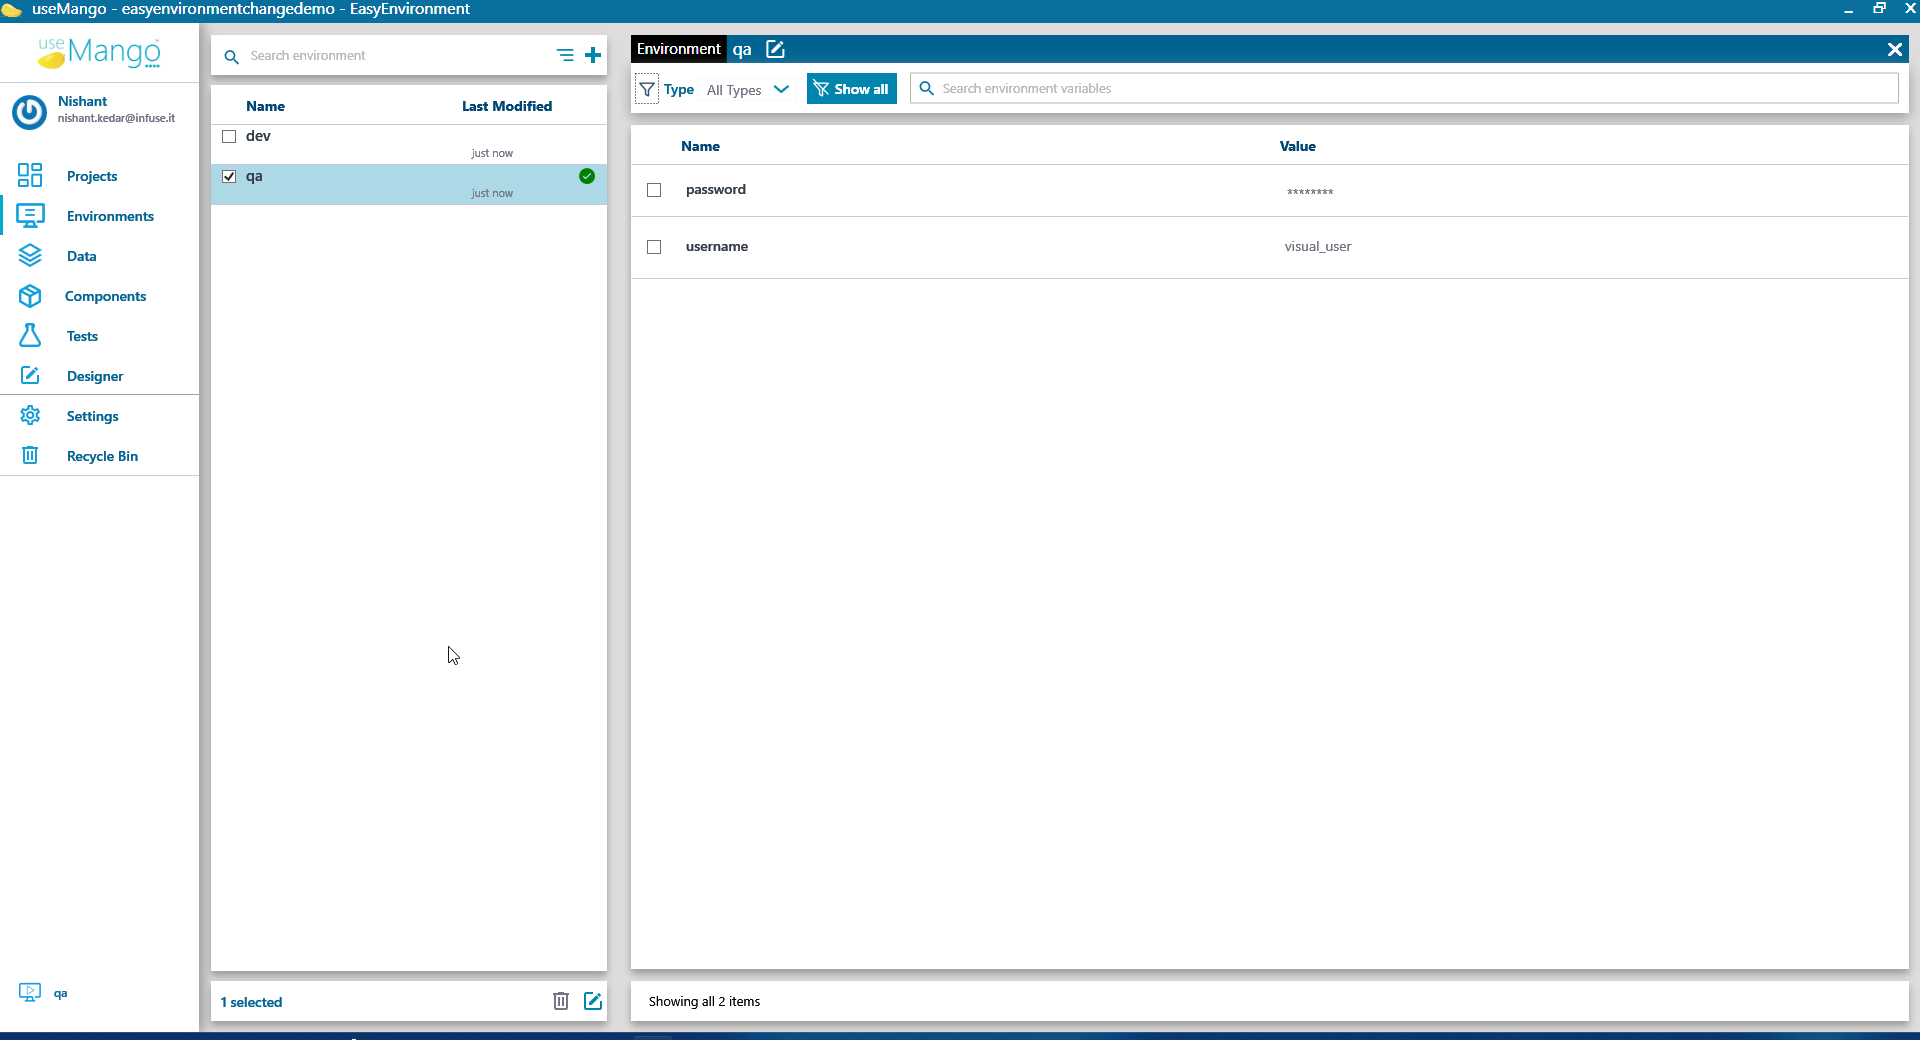
Modifying environment variable values in an environment
To modify the value of an environment variable in an environment:
- Double click on the environment in the list that you want to modify.
- Search for the environment variable in the search box at the top of the details pane.
- Modify the value of the environment variable in the value field of the environment variable.
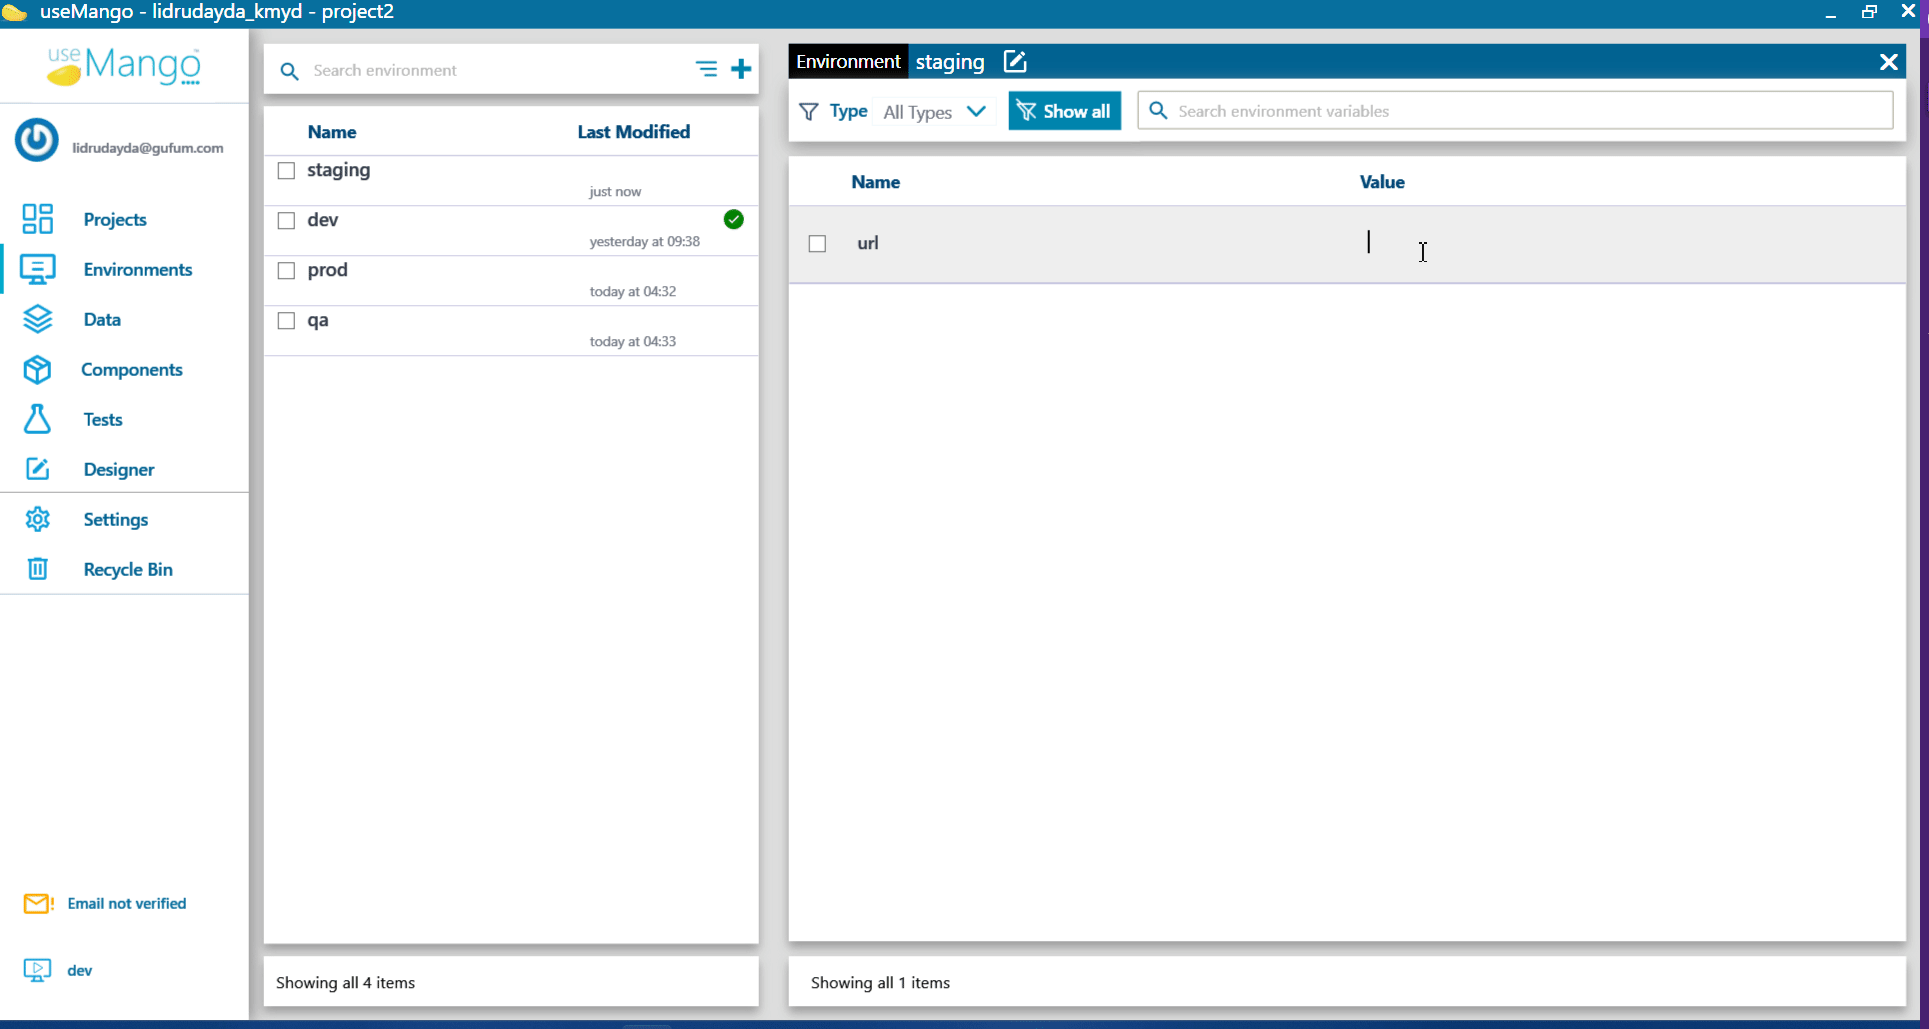
You can filter or search from the environment variable list using the search box at the top of the details pane.
Changing the default environment
Only the account administrator for the useMango™️ account can change the default environment.
To change the default environment:
- Open the useMango App Website and click on the Project Settings option from the dropdown menu in the top right corner of the page.
- Click on the project that you want to change the default environment for.
- In the environment section for the project details, click on the Select Environment dropdown.
- Select the environment that you want to set as the default environment for the project.
- We see that setting of default environment is an operation that is not done often and may not be needed to be done by test user.
- Setting the default environment affects all users/useMango instances that are using that project. Since the scope of impact is wide, we have restricted this operation to Account Administrators only.